

How To Draw The Mandalorian
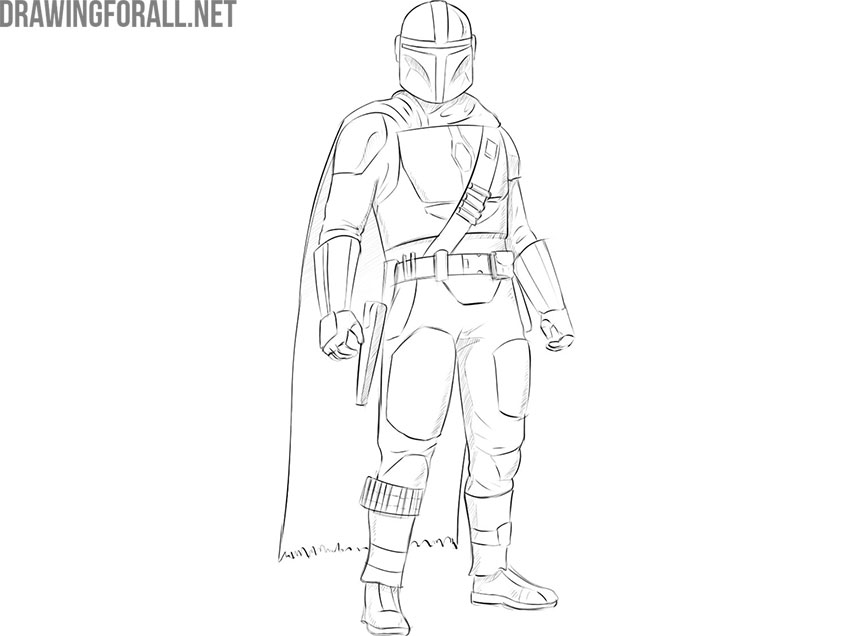
How practise yous similar this theme of mercenaries from the Star Wars universe? Today we will continue this because nosotros created a guide on how to describe the Mandalorian.
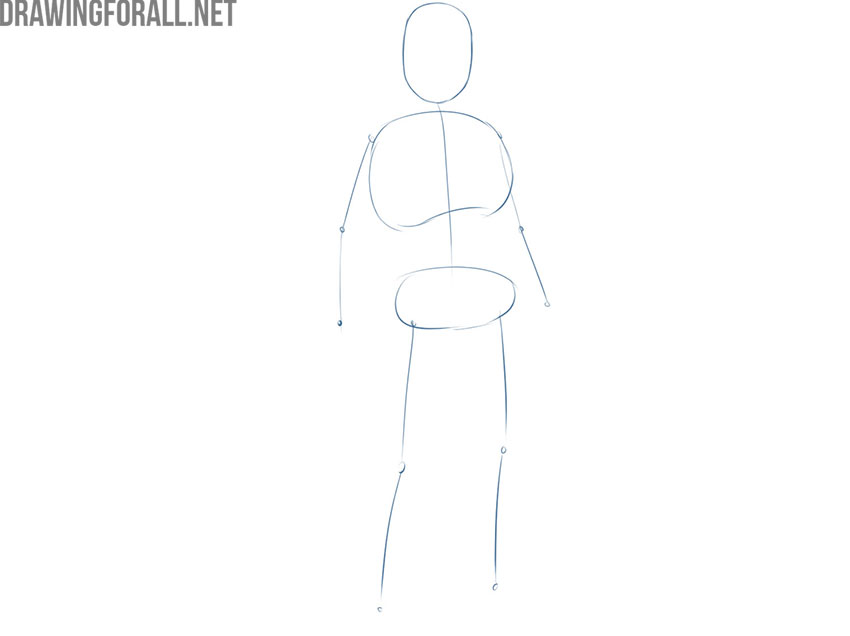
Step 1
Firstly we depict a stickman. This is a picayune human of sticks and circles with which we outline the pose, proportions and position of the grapheme on a piece of paper. Hither we see an asymmetrical thorax, the head of which looks like an elongated oval and a small pelvis.
The right mitt forms an birdbrained angle and the left hand looks similar a straight line. Legs have a minimal bend. Delight be particularly careful in this step. This is the most important stage of the whole lesson.
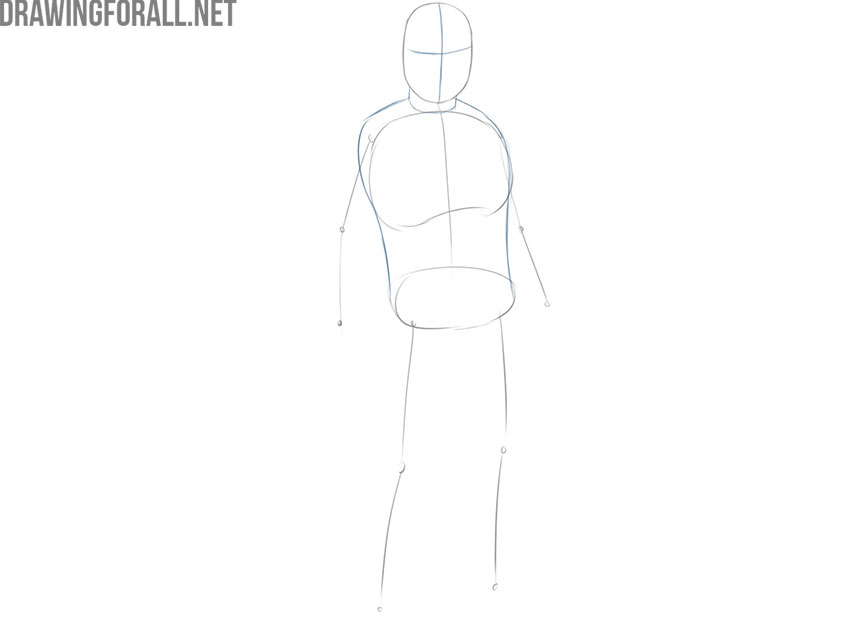
Footstep 2
We connect the chest and pelvis with smoothen curved lines to get a smooth narrowing at the waist. Please note that in this step, a contour appears that is located on the upper chest. After that, we can connect the head and chest to get the neck. Information technology should be a short sturdy cylinder.
At the end of the steps, we outline 2 curved lines on the face. The vertical line divides the face into two equal parts. The horizontal line indicates the location of the eyes, more than precisely, the eye opening on the helmet.
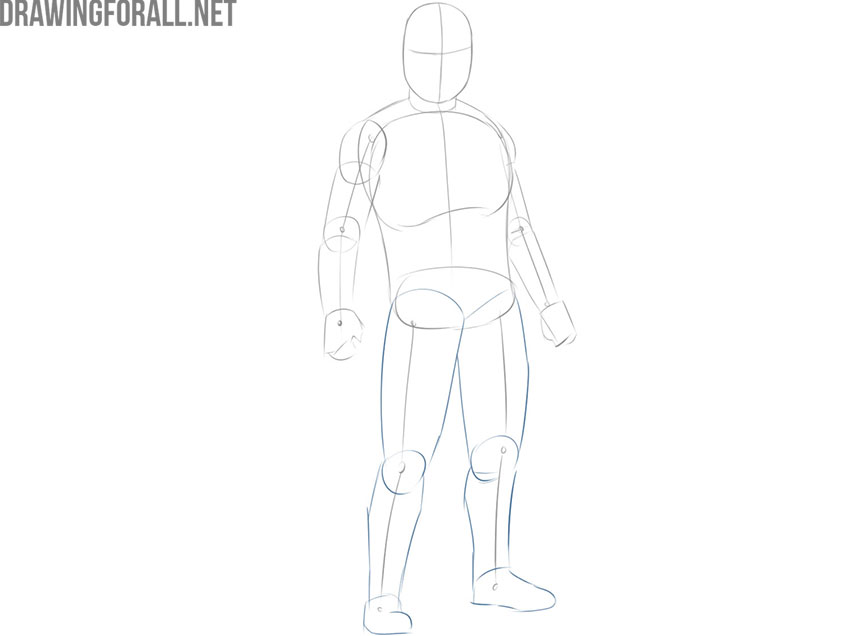
Step 3
Now we outline the contours of the hands. The shoulder looks like a cylinder and the forearm looks like a truncated cone. Fists are large polygons. The joints look similar articulations. If you don't know where your shoulder or forearm is, you should look into the lesson on how to draw a Roman soldier.

Step four
In this step we will work with the contours of the legs. The thigh tapers towards the knee. The shin first slightly expands and so narrows quite sharply. The feet of our bounty hunter accept a different shape due to the angle and pose.
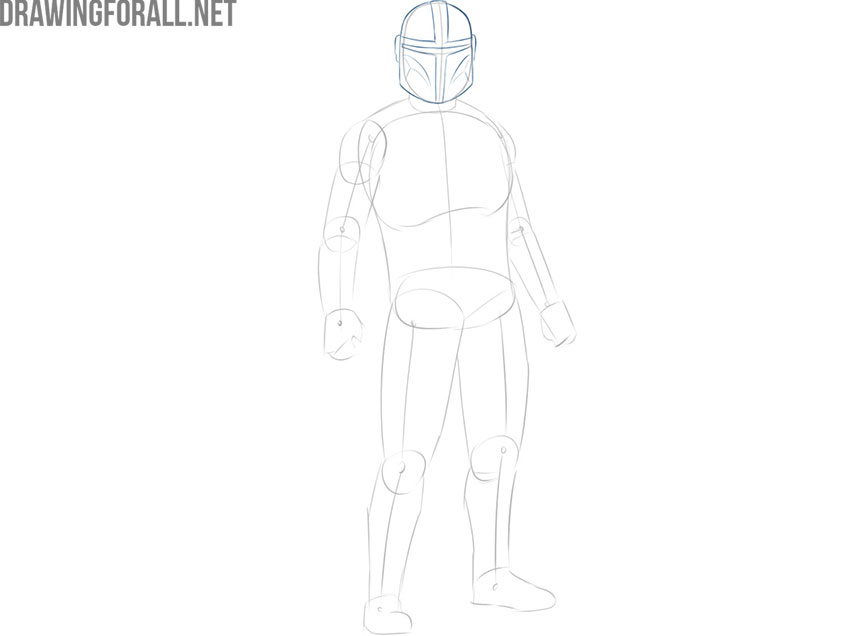
Step 5
Now nosotros take a silhouette of a certain character. Permit's give it the characteristics and attributes of a compensation hunter. We will start with a helmet. Beginning we depict a cut for the optics. Subsequently that, we will plough over this slot with the effigy in the form of a cross. At the end of the footstep, nosotros will draw curved lines on the lateral sections of the bottom of the helmet.
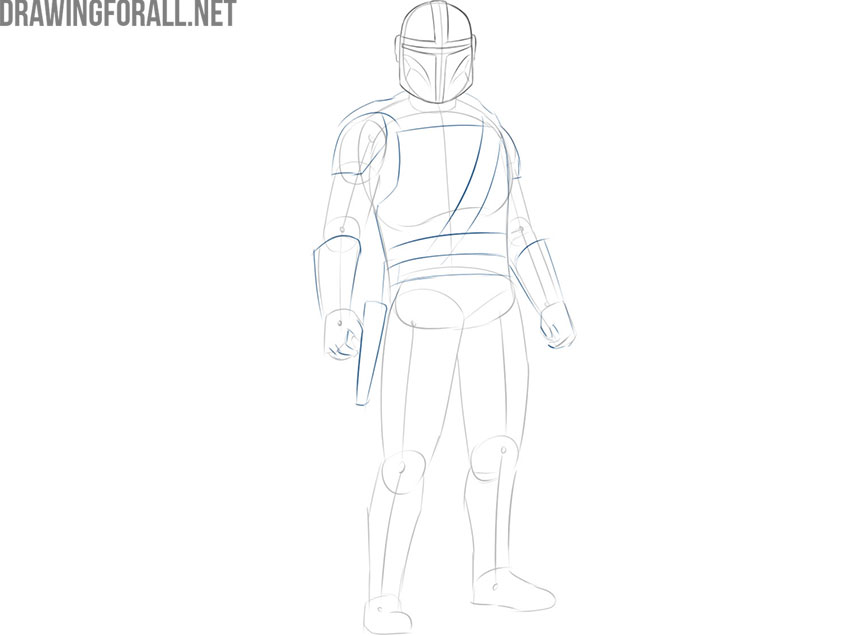
Step vi
Great, and at present it'south time to work on the approximate contours of the armor. This volition be a very simple pace indeed. Here we outline the outline of the armor plate on the abdomen of our warrior. Later on that, we will draw a belt around the waist and a chugalug that runs obliquely to the body.
Also in this footstep, we outline small-scale brusque lines inside the fists to outline the fingers. Do not forget about the low-cal protection on the shoulders and forearms.
Pace seven
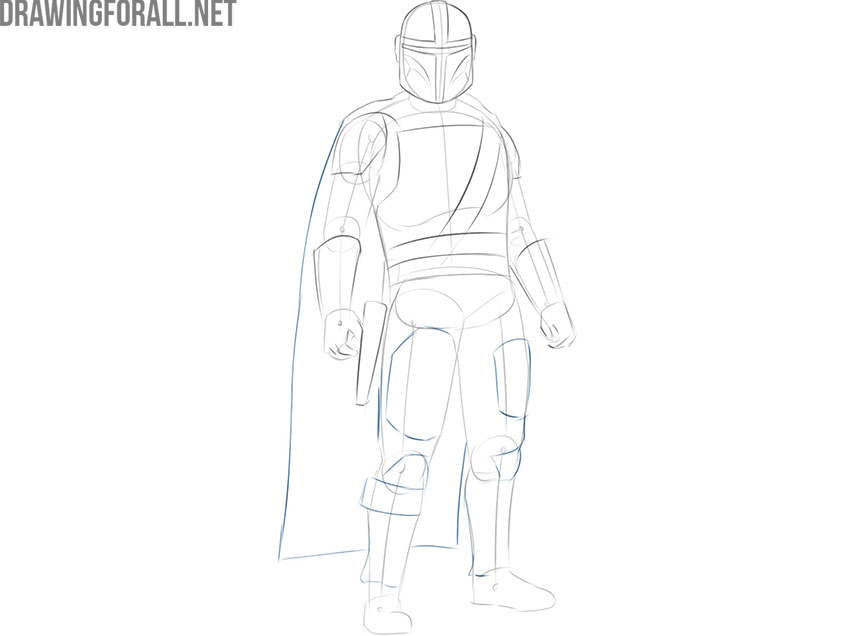
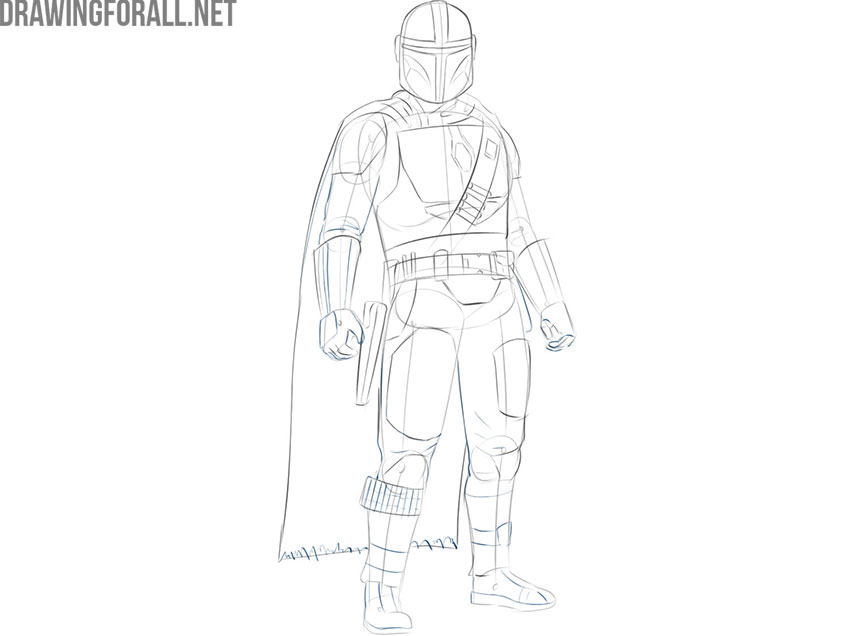
Nosotros depict the contours of the drapery that is located backside the dorsum of our hero. Also in this footstep we volition depict light plates of armor on the hips and legs.
Step 8
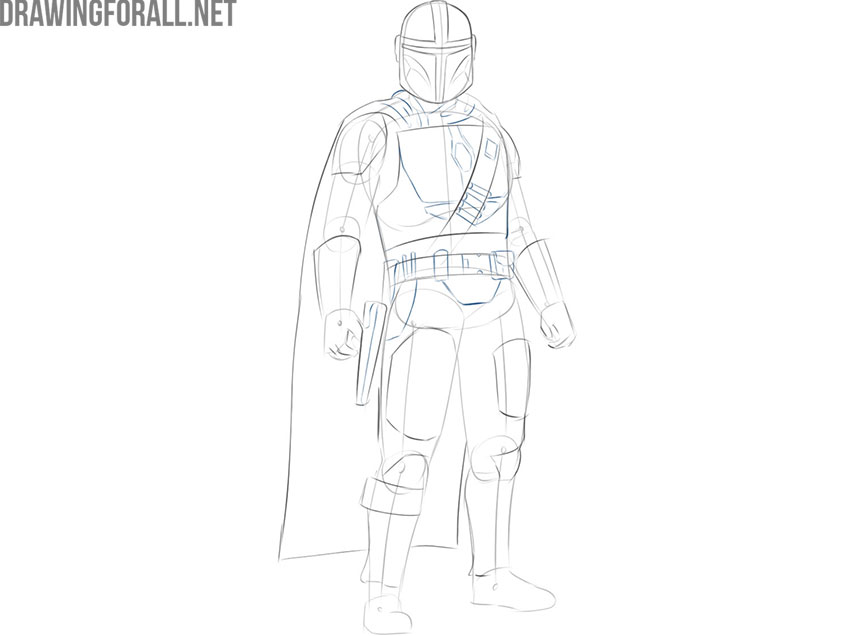
Nosotros almost complete the guide on how to draw the Mandalorian. In this step we will work with small details. First of all, we will draw the contours of the armor on the trunk. So we will depict the cartridges that are mounted on the diagonal belt. After that, we depict a belt buckle and pockets that are located laterally from it. With the terminal touch, nosotros will outline the pocket-size folds of material on the shoulders of the Mandalorian.
Step 9
We volition do the same work with the arms and legs of our character. We detail these parts of the torso and add the necessary elements such as tissue folds and the final outlines of the fingers. Do non forget about the cut border of the mantle.
Stride ten
It's time to capeesh our entire drawing. Here we must evaluate the proportions, posture, correctness of private elements and small details. It'due south a fleck similar an armored Batman, right?
If you take not found whatsoever errors, you tin safely remove the extra guide lines and proceed to the adjacent steps.

Step 11
When the piece of work with the basic contours and additional details is completed, we tin can safely go along to the shadows. To utilise the right shadows, we must first determine which side the light source is on. After that, we outline the guess boundaries of the shaded areas. In our instance, these are sections of the helmet under curved lines, as well as the edges of the trunk and limbs.
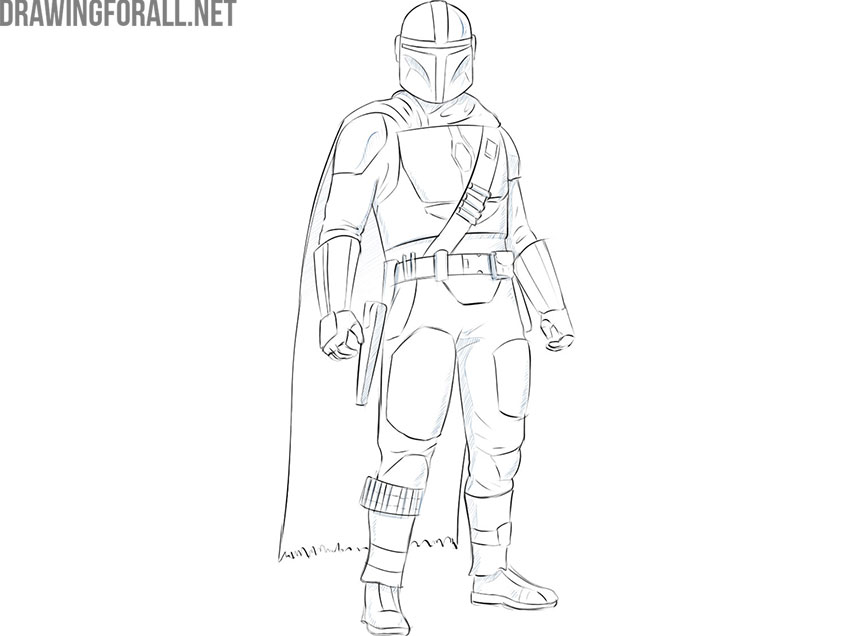
Step 12
The final result of our drawing lesson looks something like this.
So we completed the guide on how to draw the Mandalorian. Everything turned out cool for yous, right? Do not forget to tell the states in the comments about all the issues that you had during this lesson.

Source: https://www.drawingforall.net/how-to-draw-the-mandalorian/
Posted by: farrelllifflosight.blogspot.com
0 Response to "How To Draw The Mandalorian"
Post a Comment